How to Set a World Border on a Minecraft Server
Use the vanilla /worldborder set, center, add and warning commands to cap your Minecraft server's world size, plus separate nether and end borders.
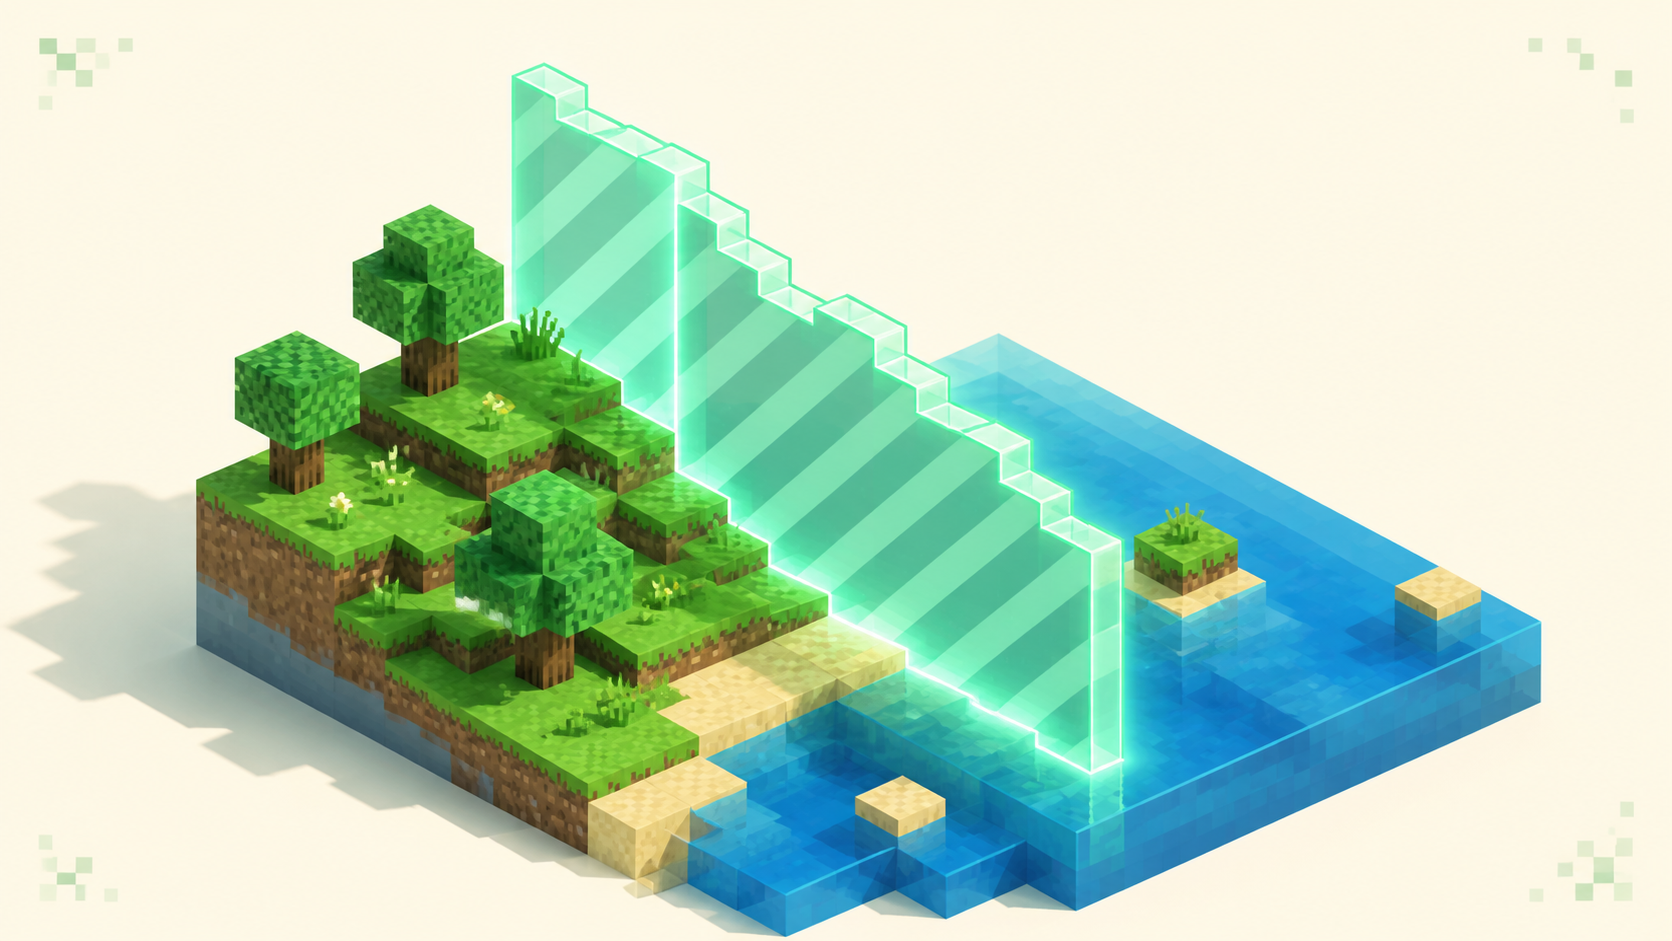
You set a world border with the built-in /worldborder set <diameter> command, run from the server console or by any operator, with no plugin required. So /worldborder set 5000 makes a 5000-block-wide square centered on (0,0), and from then on players can't walk past the edge. The practical reason owners do this is that a tight border caps how far anyone can travel, which caps how many chunks ever generate, and that keeps your RAM and disk use predictable instead of creeping upward forever. These are vanilla commands, so they work unchanged on Paper and Spigot and slot into whatever setup you already have. There are four you'll actually use — set, center, add, and warning — plus one trick for giving the nether and end their own borders.
What the world border is, and its defaults
The border is a square, not a circle. It has four flat vertical faces, drawn in-game as those animated diagonal lines, and that shape matters because /worldborder set takes the full edge-to-edge diameter, not a radius. This is the single most common mistake: set 5000 does not mean 5000 blocks in each direction, it means 5000 across, so 2500 each way from the center. If you want roughly 3000 blocks of travel in every direction, you set the diameter to 6000.
By default the diameter is 59,999,968 blocks — about 60 million — centered on (0,0) and reaching ±29,999,984 on each axis. That's effectively the world's hard limit, which is why you've never seen the default border: nobody walks 30 million blocks. That same 59,999,968 is also the maximum you can set, so your range runs from a few blocks all the way up to that ceiling.
Running the commands needs console access or a player at operator/permission level 2. The settings persist across restarts because they're stored with each world's data, so you set the border once and it sticks — there's nothing to re-run on every boot.
The four commands you actually need
set — fix the size
/worldborder set <diameter> [seconds]. With no time value it snaps to the new size instantly. Add a number of seconds and the border smoothly grows or shrinks to that size over that span, which is the basis for any shrinking-map event. Run /worldborder get at any point and it prints the current diameter so you can confirm what's actually set.
center — move the middle
/worldborder center <x> <z>. The default center is 0 0, but if your spawn or hub isn't at origin you'll want to recenter so the playable area is symmetric around where players actually start. Set the center before you size the border — otherwise you'll size it around (0,0) and then shift everything sideways when you recenter.
add — grow or shrink relative to now
/worldborder add <distance> [seconds]. The distance is added to the current diameter, and a negative number shrinks it. With a time value this is exactly how you build a contracting map: /worldborder add -2000 600 pulls the border in by 2000 blocks over ten minutes. It's the same effect as set with a time, just expressed as a change from where you are now rather than an absolute target.
warning — the red-screen cue
/worldborder warning distance <blocks> (default 5) tints a player's screen red when they get within that many blocks of the edge. /worldborder warning time <seconds> (default 15) tints the screen when an incoming shrinking border will reach the player within that many seconds. On a small map, bump the distance up to something like 20 to 50 so people get fair notice before they hit the wall instead of a tiny five-block heads-up.
There are also two damage knobs worth knowing. /worldborder damage buffer <blocks> (default 5) sets a safe zone outside the line, and /worldborder damage amount <perBlock> (default 0.2) is the damage per second per block past that buffer. Set the amount to 0 and the border becomes a purely visual soft wall — it still blocks movement, it just won't hurt anyone who brushes against it.
Why a tight border keeps RAM and disk under control
The mechanism is simple: the border blocks player movement past the edge, so players can never trigger chunk generation outside it. That caps the total number of chunks your world will ever contain to the bounded area, and the count of generated chunks is the root lever on both your region-file disk size and the memory the server gets asked to hold.
Every generated chunk costs bytes in the region files on disk, and when it's loaded it costs memory for its blocks plus all the entities being tracked inside it. An unbounded, freely-explored map is what makes both of those grow without limit — a few players wandering 10,000 blocks in every direction generate a surprising amount of terrain. A border somewhere in the 6000 to 10,000 block range is plenty for a survival or SMP community and keeps that footprint flat instead of ballooning.
Pair the border with pre-generation. Set the border first, then pre-generate the enclosed area with Chunky so exploration doesn't spike CPU and stutter when players push into fresh terrain. A bounded area also means pre-gen finishes in a known, finite amount of time rather than chasing an edge that keeps moving. A smaller, fully-generated map is also one of the cleanest ways to keep heap demand down, since the server isn't constantly loading and unloading new ground.
The best time to do all this is day one. On a fresh Paper setup, set the border right after the first boot, before anyone joins, so the world simply never sprawls in the first place. Capping a world before it grows is far less work than trimming a bloated one later.
Separate borders for the nether and the end
On modern versions each dimension carries its own border. A /worldborder set run while you're standing in the overworld only affects the overworld, and the nether and end keep whatever they had. (Older versions shared one border across all three dimensions, which is why some guides still claim setting it once covers everything — that hasn't been true since the per-dimension change.)
You've got two ways to set a per-dimension border: stand in the dimension and run the command, or do it remotely from the console with execute in. The remote form is the reliable, copy-pasteable one:
/execute in minecraft:the_nether run worldborder set <diameter>
/execute in minecraft:the_end run worldborder set <diameter>
The nether has one nuance you can't skip: the 8:1 coordinate scale. One block traveled in the nether equals eight overworld blocks. So to make the nether border line up with the overworld border — players hitting both at the same overworld coordinates — you divide the overworld diameter by 8. An 8000 overworld border means a 1000 nether border. If you set the nether border equal to the overworld's by mistake, you've just handed players a nether eight times larger to dig through, which quietly undoes the disk savings you were after.
Cap the end too. Unbounded end exploration generates chunks exactly the way the overworld does, out across the outer islands, so give it a generous border around the central island and the inner ring rather than leaving it wide open.
Here's the whole thing as a recipe you can adapt — center on spawn, size the overworld, size the nether to an eighth of it, and cap the end:
worldborder center 0 0
worldborder set 8000
execute in minecraft:the_nether run worldborder center 0 0
execute in minecraft:the_nether run worldborder set 1000
execute in minecraft:the_end run worldborder center 0 0
execute in minecraft:the_end run worldborder set 8000
worldborder warning distance 30
Making it permanent
Border size, center, warning, and damage are all saved with the world data, per dimension, so they survive restarts and crashes. There's nothing to add to server.properties and nothing to re-run on boot — set it and it holds.
On Paper and Spigot these vanilla commands are the right tool for capping size. The old WorldBorder plugin still exists, but it's there mainly for extras like filling, trimming, or round borders; you don't need it just to limit how far the world grows. Set the center, set the overworld diameter, set the nether to an eighth of that through execute in, cap the end, raise the warning distance, and zero the damage if you want a gentle wall. The border on its own caps how far the world can grow, and pairing it with pre-generation is what keeps a server light as its population climbs.
FAQ
Does a world border stop chunks from generating outside it?
It stops normal player-driven generation, because players can't walk, ride, or get pushed past the edge, so on a new world an early border keeps the region files compact. It does not retroactively delete chunks that were generated before you set it, and it doesn't block generation from teleporting an operator out, from /forceload, or from certain plugins. To actually reclaim disk on an old, sprawling world you have to trim the region files outside the border as a separate step — the border's job is preventing the sprawl, not undoing it.
Can players still build, get pushed, or pearl past the border?
No. The border blocks movement and won't let players place blocks outside the line, and push mechanics like pistons and flowing water can't move entities past it either. If a player does end up outside it — teleported there, say — they just take damage once they're past the damage buffer and have to walk back in on their own, except in Creative or Spectator mode, which ignore border damage entirely. Setting the damage amount to 0 keeps the movement wall while dropping the damage, which is handy for a casual map.
How do I run a shrinking-border event or minigame?
Use add or set with a time value so the contraction animates instead of snapping. For example, /worldborder add -3000 900 shrinks the diameter by 3000 blocks over fifteen minutes, and /worldborder set 50 600 closes the whole map down to a 50-block ring over ten minutes. Raise /worldborder warning time so players see the red tint well before the wall reaches them, and keep some damage on so anyone the border catches takes damage instead of camping behind it. That's the standard mechanic behind UHC-style shrinking maps, no plugin needed.